I needed to make some special cards for a swap I was participating in and couldn’t go past the Peaceful Poppies Suite! It combines beautiful line-art images accented by water colour effects, all inspired by a field of poppies which I absolutely love!

This Suite is a little more expensive but It’s going to be one of those sets that you will never want to let go of! I know I certainly will keep it in my stash.
Check out the video here to see more of this stunning suite!
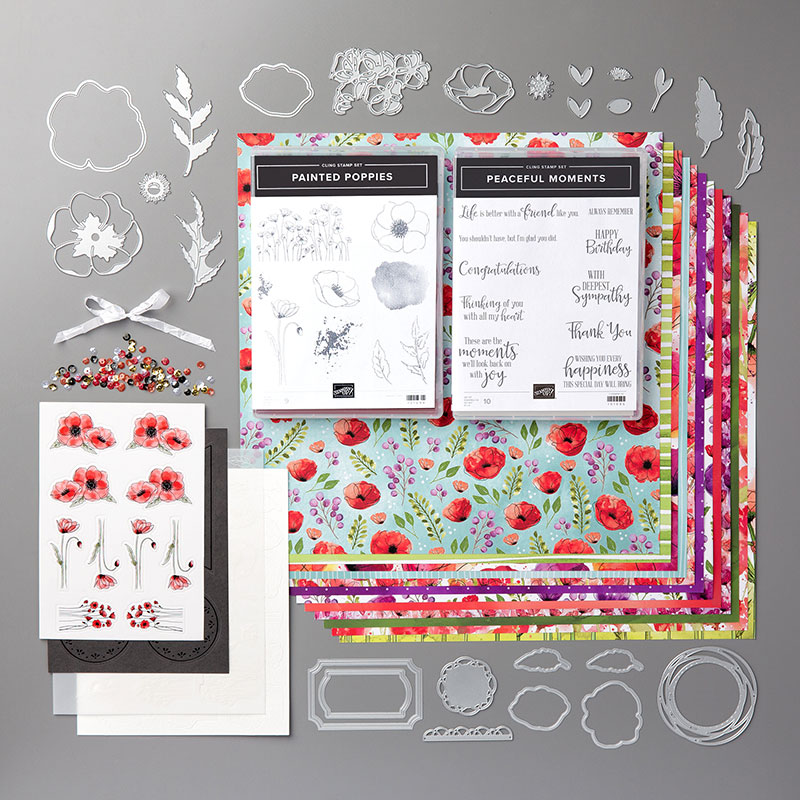
This Suite consists of not one but two bundles which means you receive–
- 2 stamps sets – Painted Poppies and Peaceful Moments
- 2 dies sets Poppy Moments Dies and Painted Label Dies
- Peaceful Poppies Elements ( 8 sheets of die cut printed accents – 2 sheets printed black elements, 2 sheets printed thick cardstock, 2 sheets printed vellum and 2 sheets watercolour paper. These are so beautiful and make quick card making a breeze.
- Peaceful Poppies sequins – Round and flower-shaped sequins approximately 750 per pack ( 5 colours)
- Whisper white 1/4 Crinkled Seam Binding Ribbon
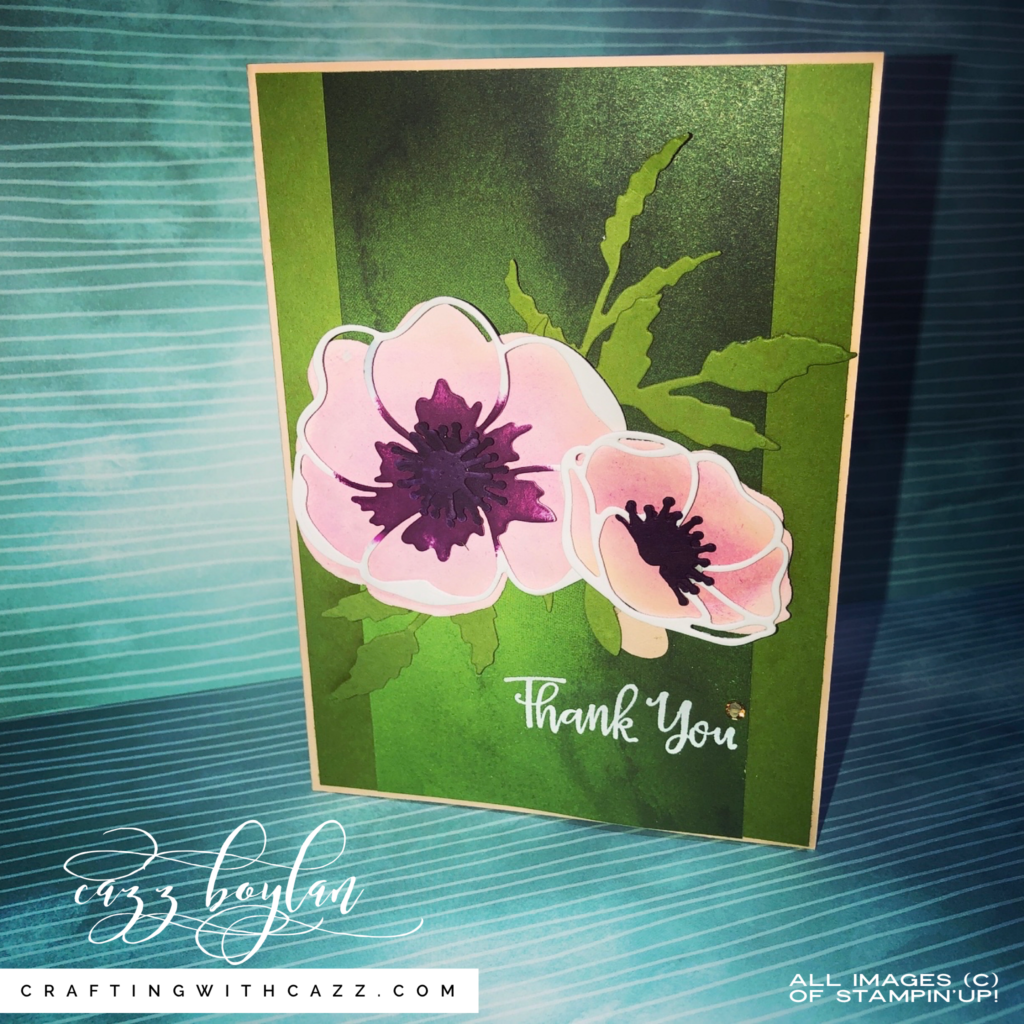
I honestly couldn’t believe it when I could not find any Real Red or Cherry Cobbler cardstock in my stash…..not even a scrap! SO I thought Id create a card with non traditional colours and I actually love the result!

To recreate this card you will need –
- 1 Petal Pink card base measuring 14.9 x 21 cm
- 1 Old Olive card matt measuring 10.2 cm x 14.2cm
- 1 strip of Peaceful Poppies DSP measureing 7.5cm x 14.5cm
- 1 scrap of Old Olive Card stock – leaves
- 1 piece of whisper white card stock measuring 10cm square
- 1 piece of Petal Pink card stock measuring 10cm square
- Small piece of Blackberry Bliss – stamen
- 1 sponge – Rich Razzleberry Ink Pad

–Card Recipe-
Fold Petal pink cardstock crisply in half with your Bonefolder. Adhere Old Olive Card Matt with snail and then line up your DSP evenly within the space and adhere.
Using your die-cutting machine cut out your one large leaf, one smaller leaf out of the Old Olive card stock.
Cut out the background of your poppy with Petal pink cardstock and then the delicate top layer with Whisper White cardstock. Cut your stamens out of the Blackberry Bliss.
Using a sponge gently ink your Rich Razzleberry to the centre of your whisper white flower. You will also need to gently rub some colour into the flower base. Be very gentle though as you only want a light dusting of colour. I chose the Rich razzleberry for the sponging so there was some contrast to the Blackberry Bliss stamen of the poppy.
Using snail, adhere your leave first to your card. Build your Poppy with the pieces you have die cut using dimensionals and snail and adhere to card.
To finish up Versamark and stamp your sentiment from the Peaceful moments Stamp Set, add white embossing powder and heat.
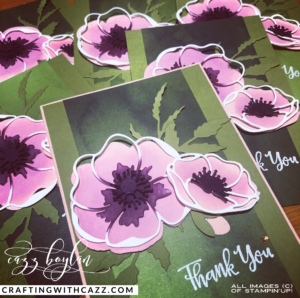
I cant wait to see your cards! make sure you tag me on facebook or instagram as I would love to see them.
Happy Stamping,

Love Cazz xo
Need some amazing Stampin’Up! products SHOP HERE If placing an order please use this months Hostess Code QTVTRJMH to be in the draw to win the beautiful Bird Ballad Laser cut cards and Tin!
Have any question on joining the Stampin’Up! family and my fabulous team? Im happy to answer any of your questions on how you can purchase the Starter Kit and start enjoying 20% Discount off all your purchases! You wont regret it!!!
ENABLER ALERT!! There are new products added to the Clearance Rack!
Images (c) Stampin’up!®TM 1990-2020
Live in Australia? Click on the images below to purchase them today!
Disclaimer- The content of this blog is the sole responsibility of Cazz Boylan as an Independent Stampin’UP!® Demonstrator and the use of and content of classes, services or products offered is not endorsed by Stampin’Up!®
My original designs are on display for your enjoyment. If casing my cards or projects please give credit for my designs! Id love to what you create!


