I can hardly believe it, but there are only two sleeps before I head to New Zealand!
My very FIRST overseas trip!
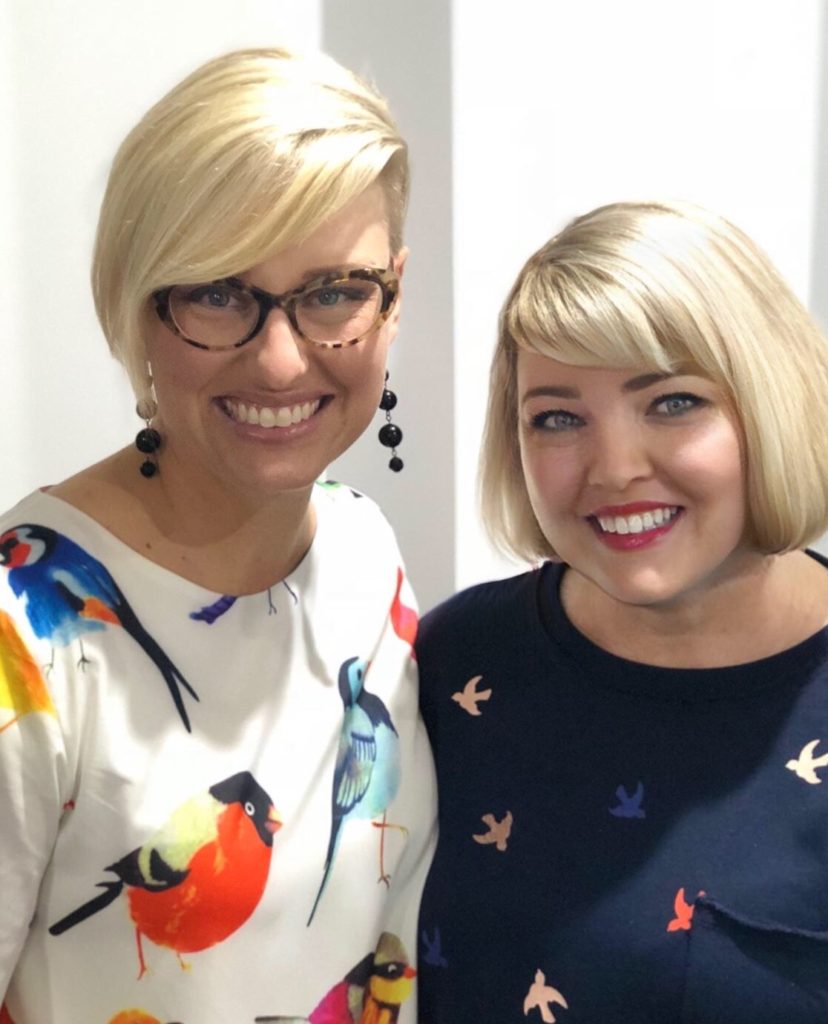
I am heading over to NZ for Stampin’up! Onstage! This event is designed to bring Stampin’Up! Demonstrators from all over the world together! I am fortunate enough to have one of my fabulous team members and another bestie attending.

There truly is nothing like being in an energy-filled room with hundreds upon hundreds of other demonstrators who are as passionate about Stampin’ Up! as I am!
One of the perks of attending Onstage is seeing the new Annual Catalogue before anyone else! You also get to see and create with the beautiful new products first hand! This is like winning the jackpot in my eyes!
This event is just another reason to be a part of this fabulous company! Don’t think about it, just do it! I love my gorgeous Team!
One of the lovely things Stampin’Up encourages is for each demonstrator to bring swaps with them. Before the event starts you walk around meeting new demonstrators and swap their gorgeous design for your own. I love walking away with loads of new ideas and creating life long friendships along the way!
I am a 3D lover, so I had to create a swap that I could fold flat in my suitcase but still looked super cute!
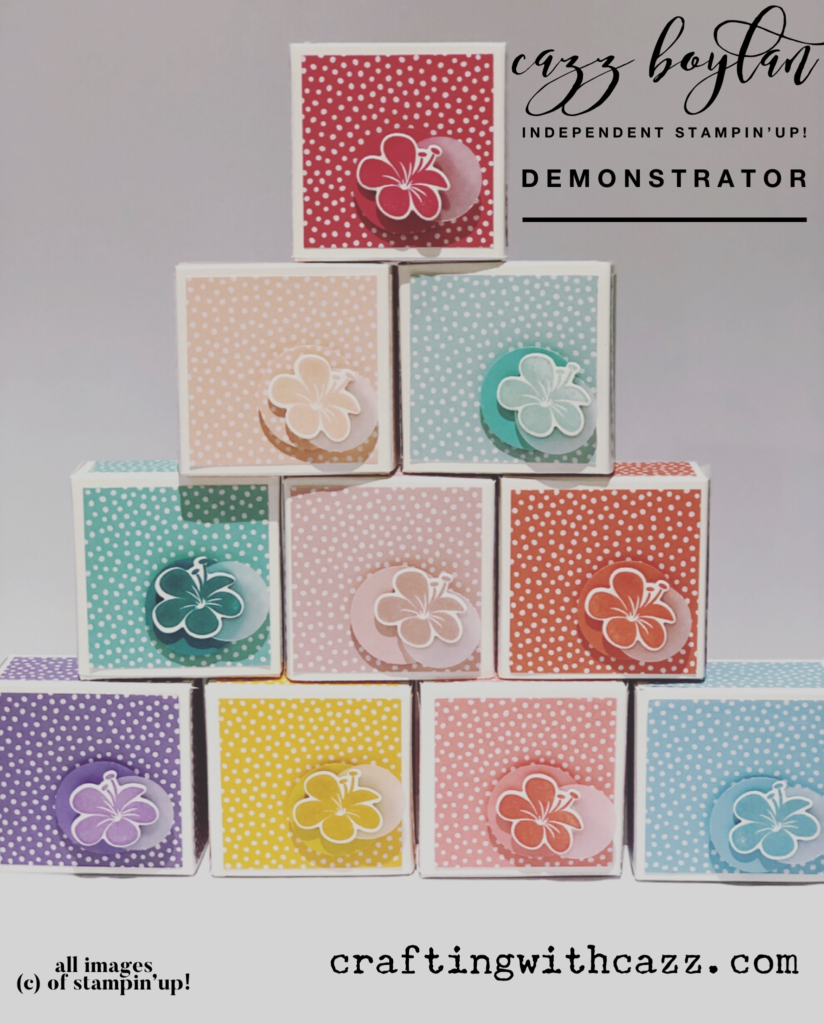
These gorgeous little boxes were just perfect and fitted all my criteria!
To make these little cuties at home you will need –
One piece of Whisper White Cardstock measuring 10″ x6″.
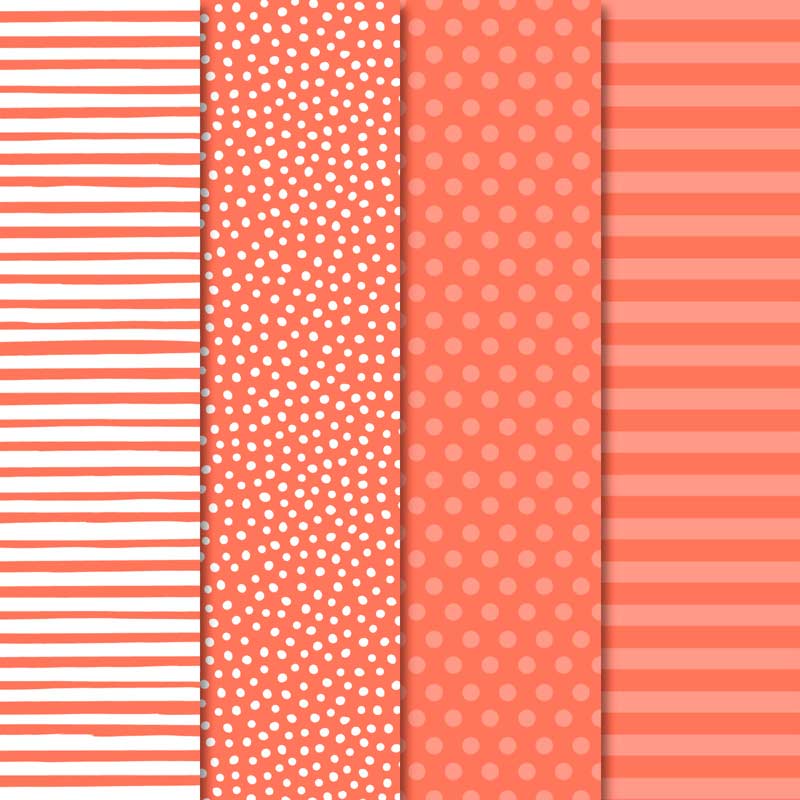
Two pieces of Designer Series Paper measuring 2 1/4′ x 2 1/4″ and four measuring 2 1/4 x 1″. (Please Note I have used the 6×6 Designer Series paper in Brights and Subtles).
Scrap of Whisper White Cardstock and Designer Series Paper or Cardstock for circles.
Vellum
Instructions –
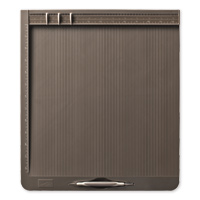
Using your Simply Score Board score your long side at 2 1/2″, 3 3/4″, 6 1/4″ and 7 1/2″.
Score on your short side at 3/4″, 2″, 4 1/2″ and 5 3/4″.
Using the image below, cut away the panels you do not need!
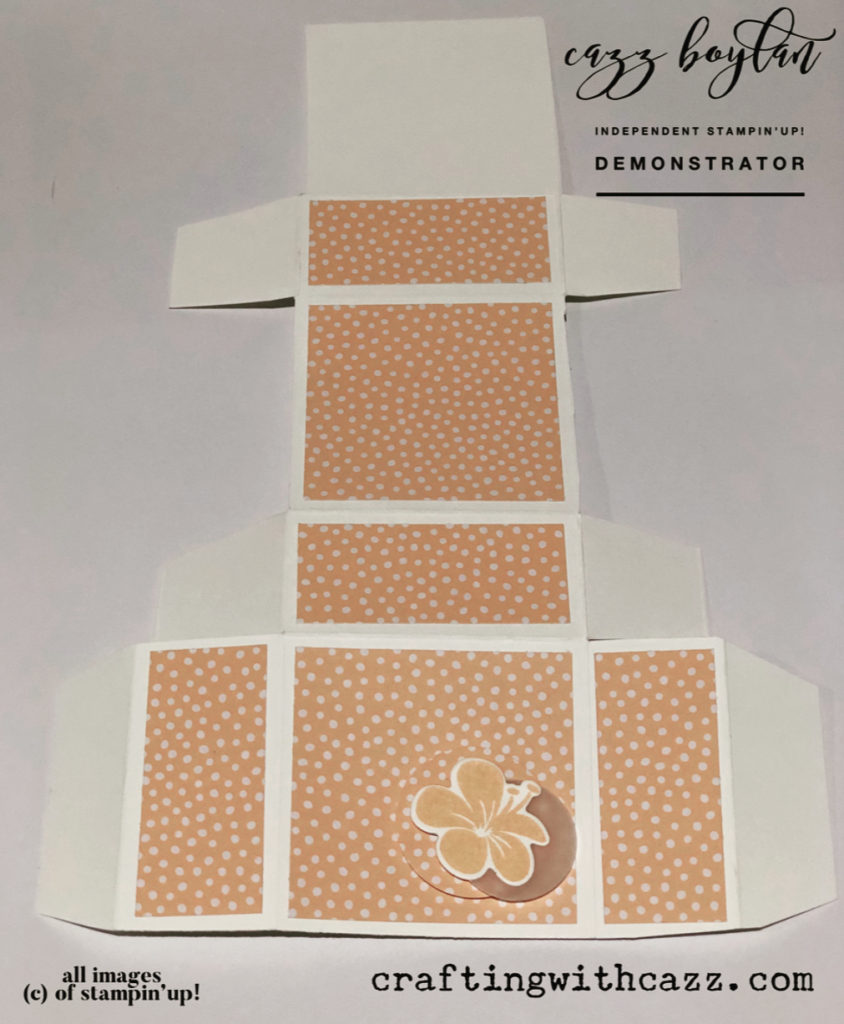
Adhere your Designer Series Paper to the front panels.
Burnish with your Bone folder on each scoreline!
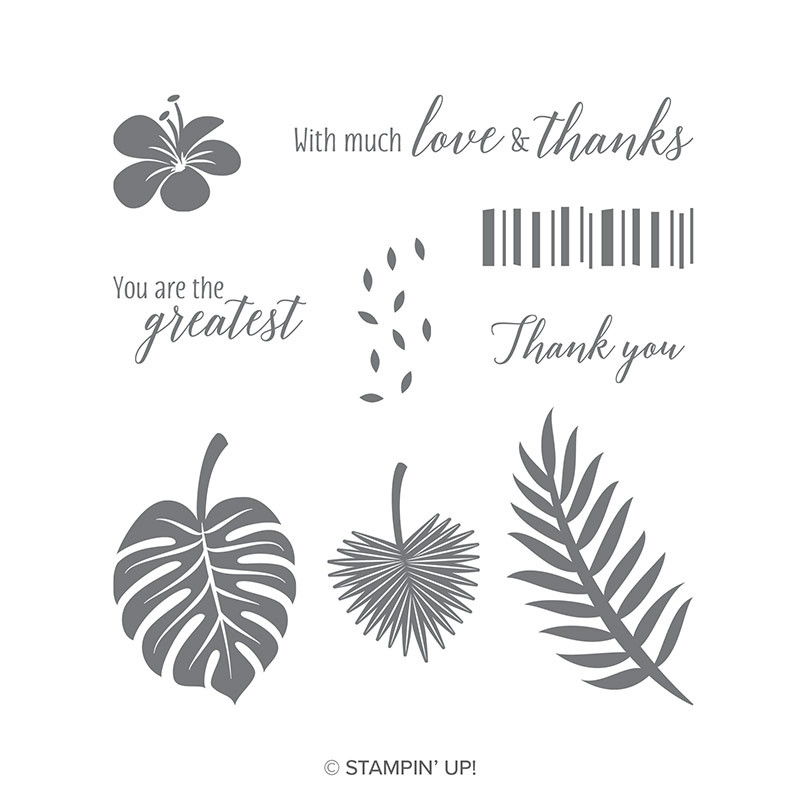
Stamp your hibiscus flower from the Tropical Chic Stamp set and cut using the coordinating dies.
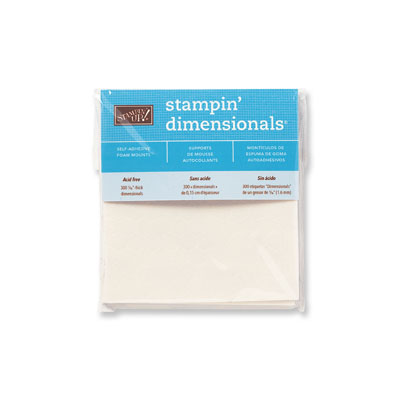
Punch a 1 1/4″ circle of coordinating cardstock and a 1″ circle of Vellum! Adhere all three with dimensionals.
Thats it! No need to adhere your box together, it all folds in on itself to create the perfect no adhesive gift box!
I cannot wait to come back and share with you all the exciting news from Onstage!
Happy Stamping
Love Cazzy x
To join my Fabulous Team Click HERE
To Shop with Cazz click HERE!
Remember to use this months HOSTESS CODE – Z246PQAJ with any order under $250 to go into this months Customer Appreciation Draw!
Products used in todays Project! Thanks for stopping by xo
