I had so much fun creating this Explosion box with the Needlepoint Nook Suite!

The thing I loved most about this project is how simple it was to create! I have a fondness for projects that have that WOW factor without all the hard work.


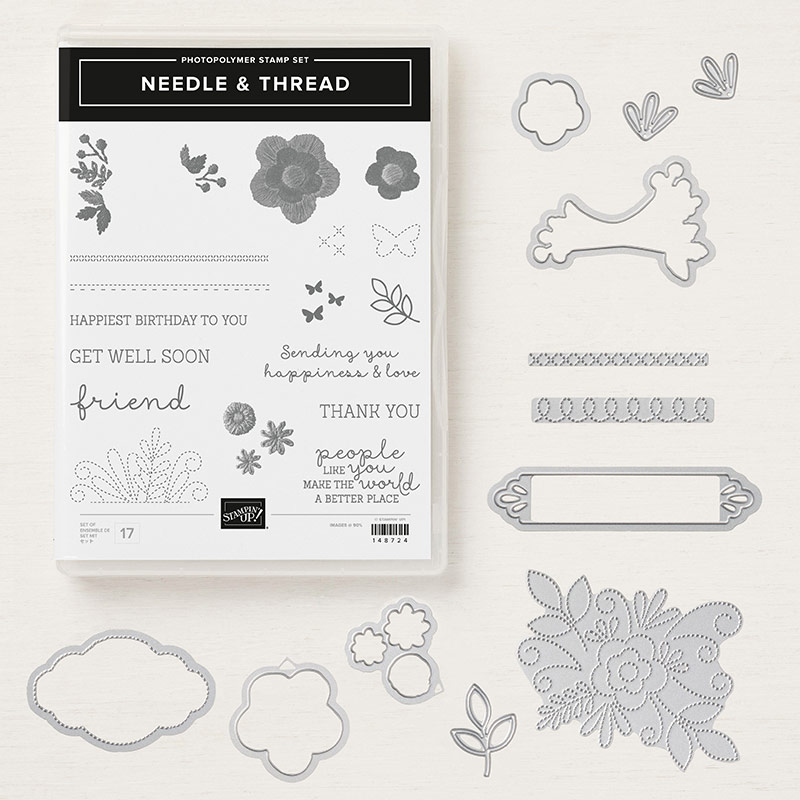
I honestly don’t think this box would have turned out as pretty without the use of the delightful Needle & Thread Stamp set and coordinating Dies!
Few things are more personal than embroidery and just look at the photorealistic stitched flowers! I love how crisp the images stamp! Send happiness and love into the world with this set plus if you purchase the Bundle you will save and additional 10%.

To create this box you will need the following products-
- 12×12 sheet of Whisper White Cardstock -score at 3″ on all four sides
- 5 7/8″ Square piece of Petal Pink Cardstock -score at 7/8″ on all sides (large lid)
- 6×6″ DSP or Cardstock to create mini box inside (score at 2″ on all sides)
- 3 1/2″ Square Petal Pink Cardstock and score at 5/8″ on all sides (small lid)
- 4- 3 1/2″ square Needlepoint Nook Designer Series Paper ( to decorate the outside of your box)
- 2 -3 1/2″ square petal pink card stock and two 3 1/2″ designer series paper ( to decorate the inside of the box)
- scrap whisper white paper for floral image for the mini lid
I found the basic box measurements for this project on the lovely Dena Rekow’s Youtube channel you will find the instructions here – https://youtu.be/MC6vk1uJ8Q8
Please follow her instructions to create your box base but before adhering your box lid run it through your cutting machine with the lovely floral detailed die to give that delicate stitched top.
To create your floral mirror image, ( handle for mini box lid) line up your green leaf detail onto your stamparatus. Ink up your image and stamp directly onto a silicon mat. Now pop your piece of cardstock onto of this inked image and stamp again. This will create the reverse image onto your cardstock and allow you to cut with the die.
Stamp two flowers and adhere one onto the centre of the leaf detail. Now on the other side at a small strip 3/4″”x 1/4″ in the centre to create a stem. Adhere your second floral image on top.
Using a craft knife make a small slit through the top centre of your mini lid. Cut up your stem, fold stems in opposite direction. Adhere the flaps to the inside of the lid. ( If they are too long these can trimmed to size).
Punch a coordinating Circle and adhere to the inside of your box lid to hide the stems.
I hope you love creating this project as much as I did!
Happy Stamping

Love Cazzy
Here are the gorgeous products I used to create these boxes . Remember to use this months hostess code with any order under $250 to go into my customer appreciation draw – WGHZRE32
Needlepoint Nook Designer Series Paper
12 x 12 Whisper White Cardstock
Needlepoint Nook Cardstock Pack


Thank you so much for stopping by and supporting my little business! Cazz x